Tuesday, February 5, 2013

Skinny Smoothie


I am a sucker for Infomercials and am often convinced that some of the "As seen on TV" items are must-haves. So I own a Magic Bullet! The device makes good single serving smoothies. I also have a blender which can do the same trick, but my Magic Bullet is accessible and easy to use.

My "Skinny Smoothie" was "invented" one day when I had no skim milk in the fridge and had already dumped the fruit ingredients and yogurt into the container. But I did have flavored Vitamin Water, bought on a whim on sale...seduced by the "Only 10 Calories" label. It worked....and my "Skinny Smoothie" was born!

Today's smoothie contains a banana and frozen raspberries, yogurt and vitamin water. Any fruit combination works. I usually pair a banana with some other fruit as the banana makes it nice and thick!

Now that fruit is "free" on the Weight Watcher point system, this refreshment is very Weight Watcher friendly!

Skinny Smoothie

Place in blender:

1 banana
1/2 cup frozen raspberries or any fruit
1 container yogurt (I used Iogo 35 calorie product)

Top up with flavoured vitamin water or skim (no fat) milk.

Option: add 1 tbsp. ground flax  (but be sure to clean your blender right away because it really sticks!)

Blend well and enjoy!


Sunday, February 3, 2013

My Kitchen Must Have's

My Top 3 Seasonings


I've taken a long hiatus from blogging and from WeightWatchers®! And of course, the inevitable happened....I put back on some of the weight that I lost when I diligently tracked my points and knocked of the pounds in a regulated fashion. The story of my life, it seems!
I've returned to Weight Watchers®...and I will resume blogging. It seems to work best for me when I am accountable and track my points even though it involves planning and careful preparation.  I find myself referring to my blog for recipes I've posted in the past - so blogging is a useful endeavor. I also found that the challenge of coming up with new recipes or altering existing recipes to lower the fat and sugar content and yet retain flavor is a way to keep me motivated.

I've decided to devote this blog to some of my kitchen "Must Haves"

For seasoning with an Asian slant, I like the Bragg's All Purpose Liquid Soy Seasoning®. It's all natural, low sodium and a great substitute for Soy Sauce. Among my husbands dietary restrictions are a salt restriction, so this works very well. It's available in Superstore® and health food stores.

Another favorite seasoning is a Trader Joe's® exclusive product called "21 Seasoning Salute®" which is only available in the US. It contains no salt and is a lovely blend of herbs. When I am in Trader Joe's® in US cities, I stock up since I can't get it in Canada. I have converted a number of friends to the seasoning so now I have to bring home enough to share and enough for my own use. I use it on meats, potatoes, in soups....everywhere that needs a flavor boost.

Another of my Must Have's is a Fajita Seasoning from Victorian Epicure®. A little goes a long way, and it is a very low sodium seasoning. It adds a nice kick and a Southwest flavor to many stir fry dishes.

Since I am trying to cut back on fat and salt, these seasonings are indispensable.

My #1 Food Prep Must Have


As a kitchen tool, I could not survive without my Salad Spinner. I use it every day and could not imagine food preparation without it.  I have worn out several over the years and have now graduated to one I consider the cream of the crop: my OXO® salad spinner. It carries a $30 price tag, so I waited until I saw it on sale!

Now I'd better get to work creating taste tempting recipes that will help keep me on my weight loss track!


Friday, January 14, 2011

Yummy Yammy Soup

I made a version of this soup last week but I didn't record my recipe. Well - there was no recipe - it was another of my "create a soup with what's available" endeavors. It was quite tasty, and I am going to attempt to re-create - and hopefully improve upon it.

Last time I pureed the soup with my hand blender, some bits of the celery string were present. This always bothers me when I use celery in a pureed soup. So this time attempted  to "de-string" the celery with a vegetable peeler to improve upon the texture. It seemed to work!

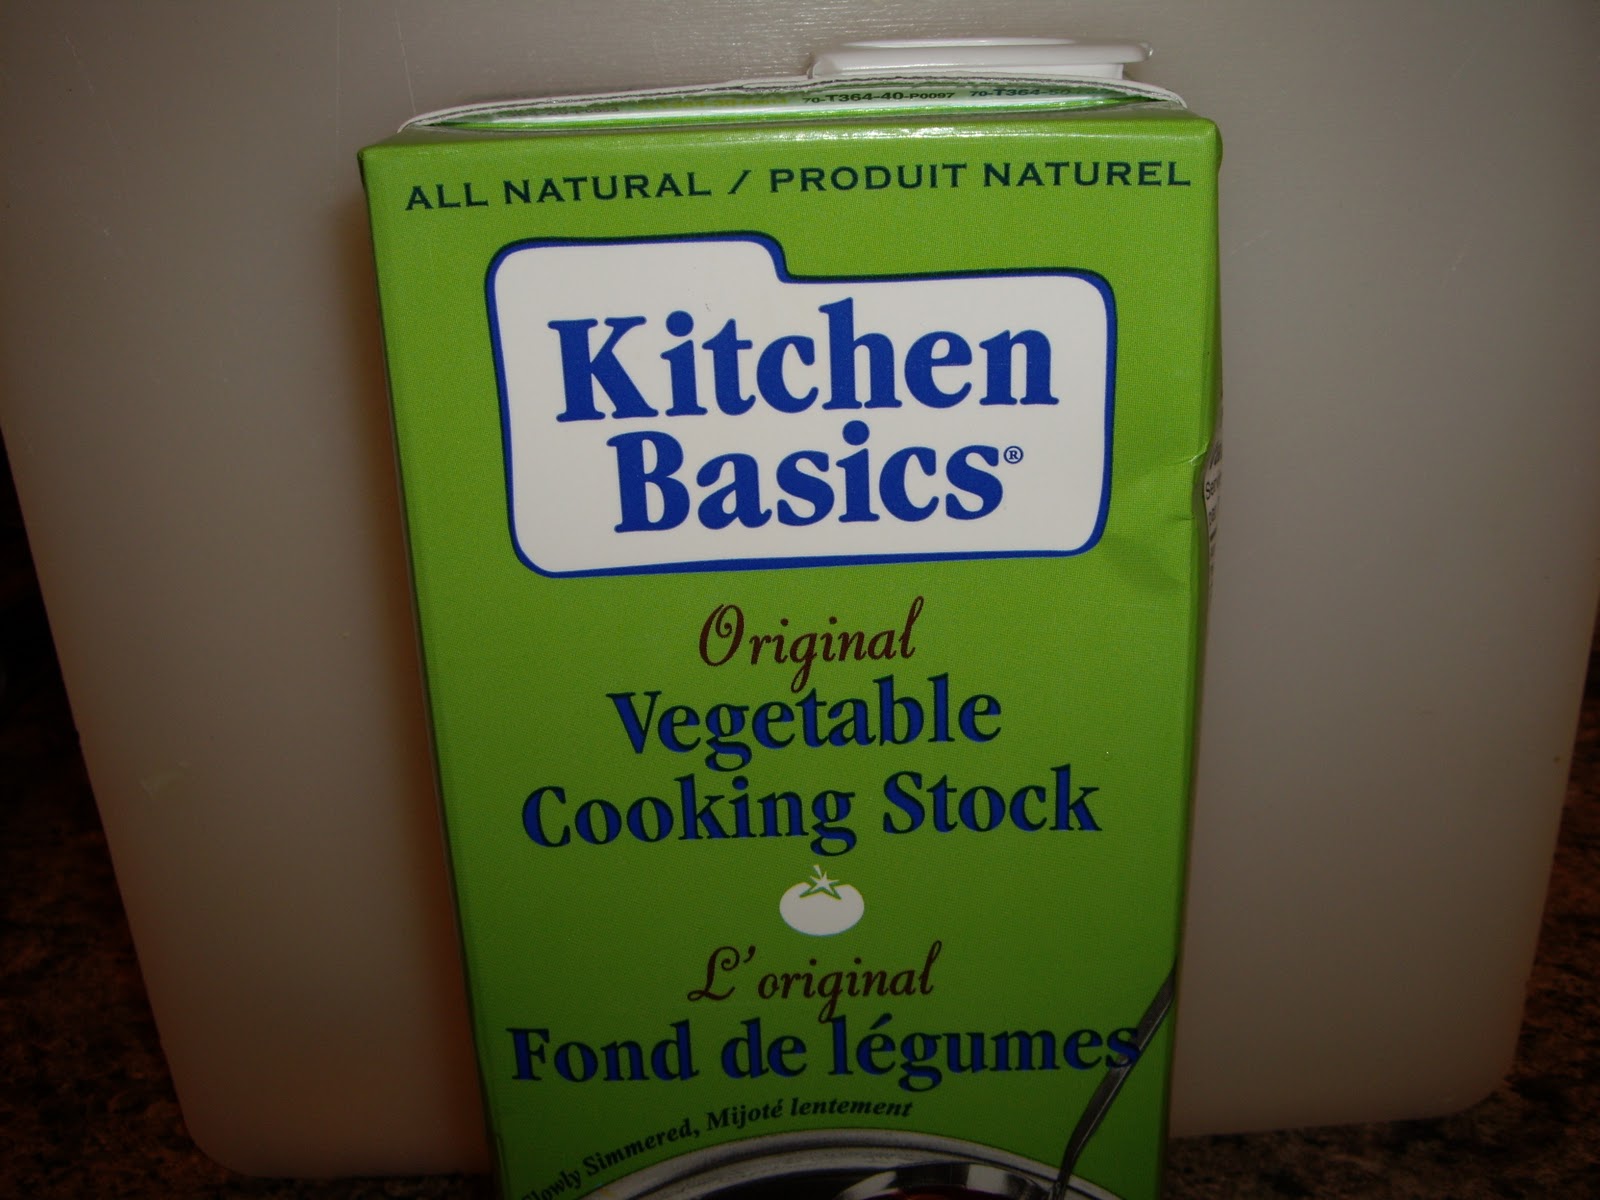
My preferred store bought vegetable stock is a brand called "Kitchen Basics"® .
 It has less salt that most other brands (230g/serving), no MSG,  no glutens, and the salt it does have is sea salt. And I recently found a "No added salt" version which I have yet to try. Not today, though!


Yummy Yammy Soup


1 large yam, peeled and cubed
3 large carrots, peeled and cut into chunks
3 stalks of celery, strings peeled away and chopped
1 large chopped onion (or 3 medium leeks, white part - thoroughly cleaned and sliced)
4 cloves garlic, crushed
1 tbsp. cooking oil
1 quart or litre of vegetable stock
2 tsp. dried thyme
Fresh pepper
Pinch of kosher salt - or to taste if you're not worried about too much salt
Chopped fresh dill for garnish

1. Soften the onion and celery in oil. Sprinkle with salt and fresh pepper. Add garlic, carrots, yam and continue to cook for 10 minutes.
2. Add thyme and vegetable stock. bring to a boil, then reduce heat and simmer for 25 - 30 minutes . Check carrot and yam for softness and cook a little longer if necessary.
3. Cool mixture for a little while, then puree with a hand blender.
4. Add chopped fresh dill and serve!

This recipe made about 7 cups of soup.
I swore I would never be one to  puree soups because they seem not to be as filling as soups that have the chunks of vegetable intact, but I am finding that not to be the case! And the added bonus is being able to camouflage all sorts of vegetables from your refrigerator drawer in your soup for added nutritional punch!

Now that Weight Watchers® has moved to the Points Plus® Program, I have not determined the points value per cup - but I'm estimating that each cup contains at least half a cup of pureed sweet potato, which counts as 2 points. All the other ingredients are 0 points. The oil adds barely .5 of a point to each serving.
Paired with a nice salad and a roll, it makes a lovely Weight Watcher® friendly lunch.

Tuesday, December 28, 2010

Cabbage Rolls like my Mother Used to Make - Vegetarian


When I crave the taste of cabbage rolls,or holubchi,  I make the lazy version - as outlined in an earlier blog. For special occasions I will make the authentic kind - rice actually rolled into cabbage leaves and simmered in a low oven for several hours. This is the kind my late mother used to make. Only hers were dainty and petite and of uniform size. Mine - not!

They are picky and time consuming to make so it is a rare occasion indeed that I deign to make them. On Dec.25th we were going to my nephews home for dinner, so I volunteered to make cabbage rolls to take along.

The pickiest part is preparing the cabbage for rolling. I use the steamer basket of my stock pot to prepare the cabbage. I get an early start so there's plenty of time to get each stage done.
Because the job tends to be messy and wet, I like to spread a nice clean towel on my work surface and get started. I'll be using the towel to separate the cabbage leaves from the head and allow them to cool on it.

Cabbage Rolls


1 med. cabbage
2 cups long grain rice
1 large onion
3 tbsp. vegetable oil
2 cans tomato soup


Stage 1: Preparing the cabbage


1. Cut the hard bottom off the cabbage and make slits around the base of the core. This is to allow steam to get in and make the leaves easier to remove. Remove any imperfect outer leaves and save. Wash thoroughly.

2. Place the cabbage in the steamer basket , core side down, and allow to steam for a good 10 minutes before checking to see if the outer leaves can be easily removed. After 10 minuted, remove steamer basket. You should be able to remove a few of the outer leaves. I got 5 on the first go and that seems to be all I could get per round of steaming.

They must come off the cabbage easily and be removed without tearing. As soon as you feel resistance, it's time to put the cabbage back into the steamer for more steaming. Deepen the slits around the core - being careful not to cut too deep in order not to damage leaves. You may have to cut away a little more at the base of the leaves in order to free it from the cabbage with each removal round.
 Continue with this process until all leaves of a size that will be suitable for rolling have been removed. The closer you get to the inside of the cabbage, the thicker the leaves. Return the loose leaves to the steamer for several minutes to soften. They'll collapse into the steamer and lose stiffness.
Trim the thick center ribs as thin as possible without making a hole in the cabbage.


Stage 2: Preparing the Rice

1. Partially cook the rice. Normally water to rice is a 2:1 ratio. For par-cooking, I use a 1:1.
2. Saute onion in vegetable oil until soft.
3. Combine onion, remaining oil, rice, salt and pepper and allow to cool so that it can be handled.

Stage 3: Rolling, rolling, rolling.....

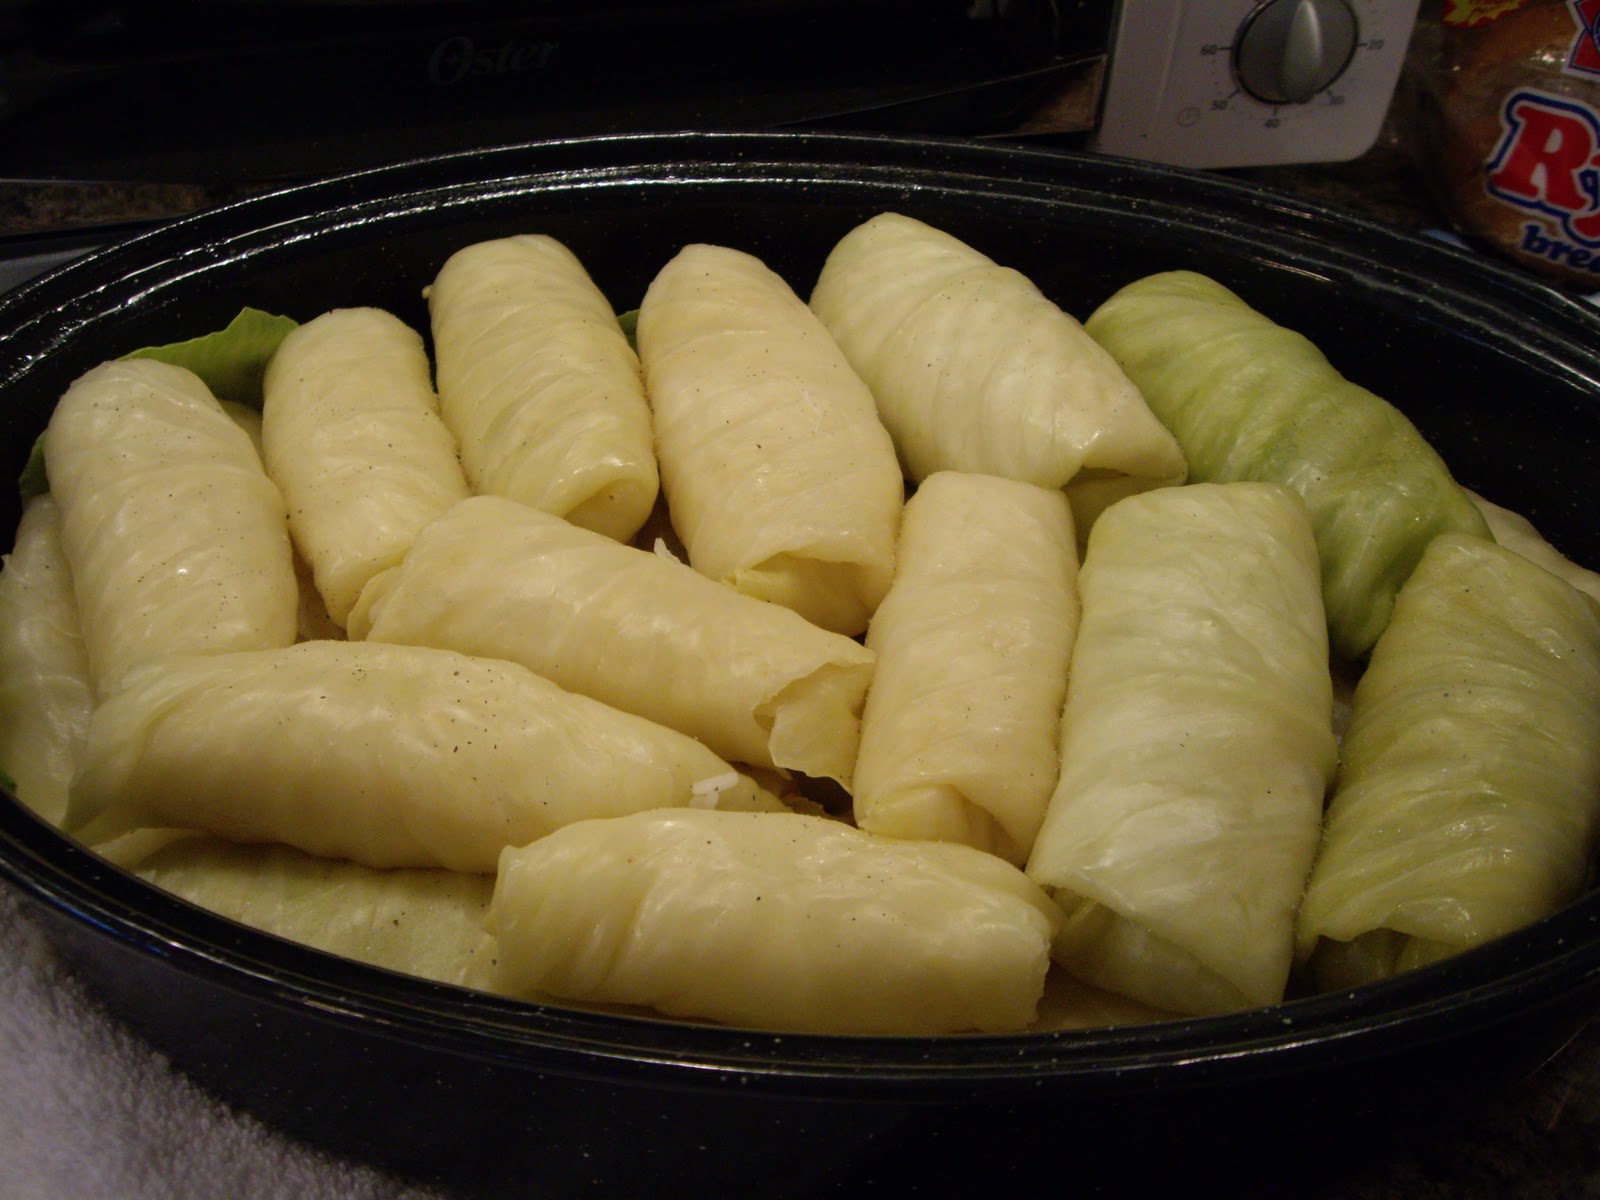
1. Place a spoonful of rice on each leaf, and roll.Tuck in the side edges as you go.

2. Place into a roasting pan that has been sprayed with vegetable spray and lined with remaining leaves that were too small to use for rolling or with the outer leaves that were removed earlier. (If no leaves are available, not to worry!)
3. Salt and pepper each layer.
4. Dilute 2 cans of tomato soup with 1-1/2 cans of water, mix well, and pour over the cabbage rolls.
5. Cover with foil or remaining leaves and roaster lid and bake for 3 hours at 325°. Check to make sure cabbage is done, and increase cooking time if necessary.

Alas, they were gone too quickly and I neglected to get a picture of the cabbage rolls once cooked.

I'm told that I can save a lot of hassle preparing the leaves if I freeze the head of cabbage, and thaw before rolling. Then I can eliminate the steaming step. I have not tried this, but I will for the next time. It will certainly make the preparation a much quicker process!

Sunday, December 19, 2010

And yet another Bran Muffin Recipe


This is another recipe that originated from the little cookbook "Just Muffins®" compiled by Gaye Hansen. My recipe, however, bears little resemblance to the original which was titled "Delicious Bran Muffins".
Once again, I dip into my frozen banana stash. It also allows me to use up the yogurt (plain or fruit) that is a few days past its prime. I think it's the cinnamon and nutmeg that make these muffins so appealing. They are currently my favorite bran muffins. They smell wonderful while baking and taste yummy warm or cold! To cut back on the sugar, I substitute half of it with Splenda®.

'Bran'ana Muffins


1 cup yogurt (plain or flavored) or 1 cup buttermilk
1 cup natural bran flakes
1/4 cup vegetable oil
2 eggs
1/2 cup brown sugar (or 1/4 cup brown sugar and 1/4 cup Splenda®)
1 cup flour
1/2 tsp. cinnamon (or more if you like it.)
1/4 tsp. nutmeg
1/4 tsp. salt
1 tsp. baking soda
2 mashed bananas
1/2 cup raisins (optional)

1. Soak bran in yogurt (or buttermilk) for 15 minutes.

2. Add the oil and eggs and stir well
3. Add the remaining dry ingredients. (Probably best sifted, but I don't usually bother! Maybe that's a mistake!)
4. Stir in the mashed banana.
5. Spoon into muffin pan that has been sprayed with vegetable spray.
6. Bake at 350 for 25 to 30 minutes. Makes 12 moist,delicious muffins.


These muffins don't keep their height once they cool - and I'm not sure why. Perhaps sifting the dry ingredients would help. Any seasoned bakers out there might know the reason and let me know....
Regardless, they quickly disappear.

In terms of WeightWatcher® points, they work out to approx. 3 points per muffin.


Saturday, December 4, 2010

Potato Latkes - Definitely not low-fat!


At this time of year, all thoughts of watching calories goes out the window. It's Chanukah - and time to enjoy the annual treat of Potato Latkes. My husband and I are crazy for these - and we can easily eat 5 lb. of potatoes worth between us. BAD!!!  Luckily, it's infrequent.

I don't follow a recipe, and so far I haven't had any failures. I did jot down measurements (sort-of) for the purpose of this blog,

 A few things I have learned over the years of making these (and tasting the latkes made by others).
- They taste just as good if you use the food processor to shred instead of doing it by hand. (It took me at least 10 years to learn this one.)
-  Rinsing the shredded potato helps to eliminate the unsightly "greying" caused by the starch exposure to air.
-  Processing the onion in a mini chopper instead of the processor eliminates big chunks of onion in the mix
-  No amount of onion is too much
- Finishing on cooking parchment on cookie sheet in the oven ensures that the latkes are cooked through - and maintains the crispiness

Potato Latkes


5 lb. russet potatoes
3 med. onions - finely chopped in mini-processor
3 eggs, beaten
1/2 cup flour
Salt and pepper to taste
Vegetable oil

1. Peel and shred potatoes in food processor. Coarse or fine shred - your choice.
2. Rinse the starch out of the shredded potato, and press out as much water as possible. I find that this process keeps the potato nice and white. I use the strainer part of my salad spinner, and it works just fine!

3. Process the onions and combine with the potato in a large bowl - big enough to get your hands into for mixing!

4. Add the eggs and flour and mix thoroughly with your hands. (It almost like making bread dough!)

5. Start a couple of large frying pans on med-high heat with a couple tbsp. oil in each. When the oil is hot, make patties out of the potato mixture and gently place in the hot oil to fry. Flatten with a spatula.

Keep an eye on them, and flip when golden. You may have to add a little oil for the second side.
(You also have to keep watch for latke snitchers as the first batch may not make it to the next step.)

6. When golden brown on both sides, transfer the latkes to a cookie sheet lined with cooking parchment and continue by baking in the oven at about 325° while you fry the rest. The timing is not an exact science - and they'll be delicious!

7. Keep on frying until you've used all the potato mixture. You may need more cookie sheets, and employ "FIFO" when serving. (First In - First Out).

8. Enjoy! Serve with sour cream or applesauce. (In my house, ketchup is the condiment of choice).

Saturday, September 25, 2010

Pumpkin - Bran Muffins


I can never follow a recipe straight out. It seems that I always have to make a substitution here or there. Whether it be Splenda® for part of the sugar, or cut back on the oil - or whatever, there is always some variation.
Today's Pumpkin Muffins are no different.

I popped into our neighbourhood Superstore (Loblaws) yesterday, and was greeted by large crates of pumpkins on the way in the door. I was inspired to make something with pumpkin. I love the spices that enhance the flavour, and it seemed like just the thing for a fall day. But did I want to bother with fresh pumpkin? Not today - so I headed for the canned products and bought a can of pure pumpkin.

This recipe is a variation of my Bran-Banana Muffin recipe which is a variation of a Bran Muffin Recipe from my "Just Muffins" booklet by Gaye Hansen. It in no way resembles the original - but served as the springboard for the creation of the new recipe.

Pumpkin Bran Muffins

1 cup Fat Free Yogurt
1 cup bran
1/4 cup vegetable oil
2 eggs
1 cup pumpkin puree
1/3 cup brown sugar
1/3 cup Splenda®
1 cup flour
1 tsp baking soda
1-1/2 tsp. cinnamon
1/2 tsp nutmeg or allspice
1/4 tsp. cloves
1/2 cup raisins (optional)

1. Soak bran in yogurt for 15 min.
2. Add oil, eggs, pumpkin puree and mix well.
3. Add dry ingredients and mix well. Add raisins at the end if using.
4. Spoon into muffin pan which has been sprayed with vegetable spray - or into paper baking cups.
5. Bake at 350 for 25 - 30 min, until toothpick inserted comes out clean.


These make a moist and tasty muffin. The nice thing about the pumpkin puree is that it does not add any point value to the recipe if you are a Weightwatcher®. When I make these again, I will likely bump the spices a bit as they were a little too subtle in the muffins, but on the whole this recipe was a success.
My husband is not a fan of pumpkin recipes, so his opinion is still to come!

I calculate the Weightwatcher® point value to be approx. 3.25 per muffin for this recipe.